How to Build the Perfect Sandcastle: Inspiration for Your Next Beach Day on Hilton Head Island
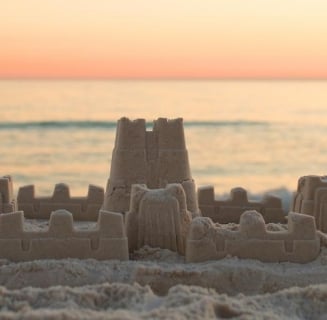
With more than 12 miles of pristine stretches of sand, warm waters, and days drenched with sunshine, Hilton Head Island is consistently renowned as one of the top family beach vacation spots in the United States. Add in wider beachfronts, minimal wind and wave energy, and smaller sand grains which are easy to compact, and it’s no wonder our Island is also the idyllic setting to build the perfect sandcastle.
Here are a few methods and “moat”ivational tips on how to tower above your sandy competitors. Be sure to read to the end to ensure you are following the Town of Hilton Head Island's Beach Ordinance.
1. PACK ACCORDINGLY

Sure, a sandcastle can be built with your bare hands, no other equipment required. But if you want to make sculpting easier and more creative, these suggestions will ensure you won’t show up to the beach empty-handed.
• Shovel – use for digging, scooping, and packing
• Buckets – get a large bucket for carrying water and building, and one or two smaller buckets to shape your towers • Carving Tools – items like offset spatulas and plastic knives work really well; and if you want to give your sandcastle a little more “curve appeal”, measuring spoons and melon ballers can really round out your design
• A Reusable Drinking Straw – great for blowing excess sand from design elements
2. DRAW YOUR LINE IN THE SAND...LITERALLY
Use your shovel or a piece of nearby driftwood, a stick, etc., to outline where you want the castle to stand, and make sure to mark the entrance. That way, everyone on your “castle construction crew” will know exactly where to start digging (and they won’t just stand around being a stick in the mud).
3. ON YOUR MARKS, GET SAND, BUILD!
Start with a solid foundation.
Every great castle starts with a great foundation. The best way to build your foundation, according to American Sand Sculpting Champion Andy Hancock, is to “dig a moat, about 8 feet in diameter, and pile the sand in the center to create a volcano with a bowl-like depression at its top. Pour a large bucket of water into the hollow and, as the water seeps down, pack the sand well all over. Jump on top of the mound to make it really compressed.”
Pro Tip: Packing down or “tamping” wet sand helps solidify the structure even further, allowing for more detailed carving.
Mix up your sandcastle concrete.
The fail-safe recipe for creating the perfect sandcastle is using one part sand to one part water. Fill a large bucket with water and add in equal parts dry sand for easier blending. Mix thoroughly until it forms your wet concrete, and now you’re ready to build.
Form walls, platforms, and towers, and walls.
Depending on how elaborate you want to go, you can create multiple levels, defence walls, and towers and turrets. Fill your smaller buckets with damp sand, turn over in the desired location, and lift.
If you’re not using buckets, pour your concrete on to the foundation and immediately flatten it with your palms by applying firm pressure. Keep working the sand with a steady jiggling action. Once the water has drained and the sand is no longer moving, stop and let gravity do the remaining compacting.
Just remember: The longer you work on your sandcastle, the more your sand will dry out. You must keep it damp while you’re building these main structures.
Carve out the details.
Once you have your basic castle shape, it’s time to focus on the details. Start from the top and work your way down, so loose sand won’t mess up your already carved surfaces. Use your different carving tools to draw shingles and bricks, sculpt out roofs and walls, and add elements like windows, doorways, and more.
Use long smooth strokes (no hacking or sawing). Carve conservatively, because when it comes to sculpting sandcastles, it’s always harder to add on than subtract. Last but not least, use your reusable drinking straw to blow off any remaining loose sand for a final finishing touch.
PLEASE MAKE NOTE OF THE TOWN OF HILTON HEAD ISLAND'S BEACH ORDINANCE
The Town's Beach Ordinance now prohibits:
- Shovels, except those that are made of wood and/or plastic and that are less than 30 inches in length and 6 inches in width
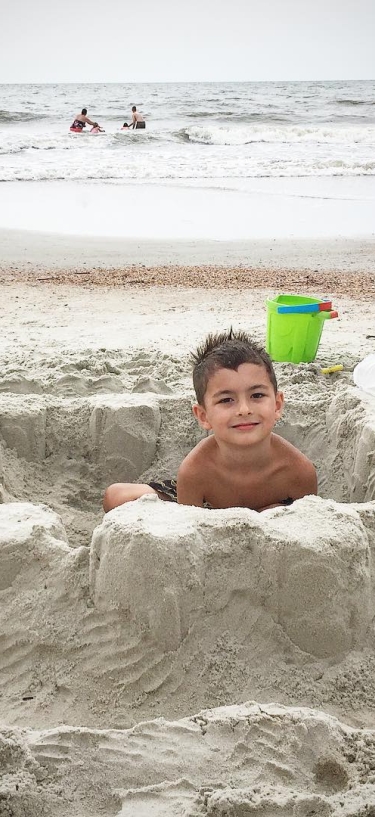
- Digging holes in the sand that are more than 12 inches in depth
- Leaving personal belongings on the beach overnight; if left, they are subject to confiscation and disposal
This ordinance also requires that all holes be filled so that the sand is returned to its original state before you leave the beach for the day.
Source: https://hiltonheadislandsc.gov/beach/regulations.cfm
If you are building castles in the sand on Hilton Head Island, be sure to take some pictures and tag us at #LowcountryLife before the tide rolls in! And don’t forget to use our free Hilton Head Island, Bluffton, and Daufuskie Vacation Planner to help you create the perfect beach getaway, for when the time is right.
More Trending Stories

Outdoor Adventures on Hilton Head Island
Renowned as America's Favorite Island®, Hilton Head Island is a paradise for the outdoorsy types. With ideal weather year-round, adventure enthusiasts...

Wildlife to Spot on Hilton Head Island
Nature runs wild on Hilton Head Island, where lush landscapes and diverse ecosystems create a haven for wildlife at every turn. From sea turtles...

A Pickleball Guide to Hilton Head Island
Pickleball is the fastest growing sport in the United States, and here on Hilton Head Island, it's quickly becoming a popular pastime for locals and...